Description:
Bluetooth Module:

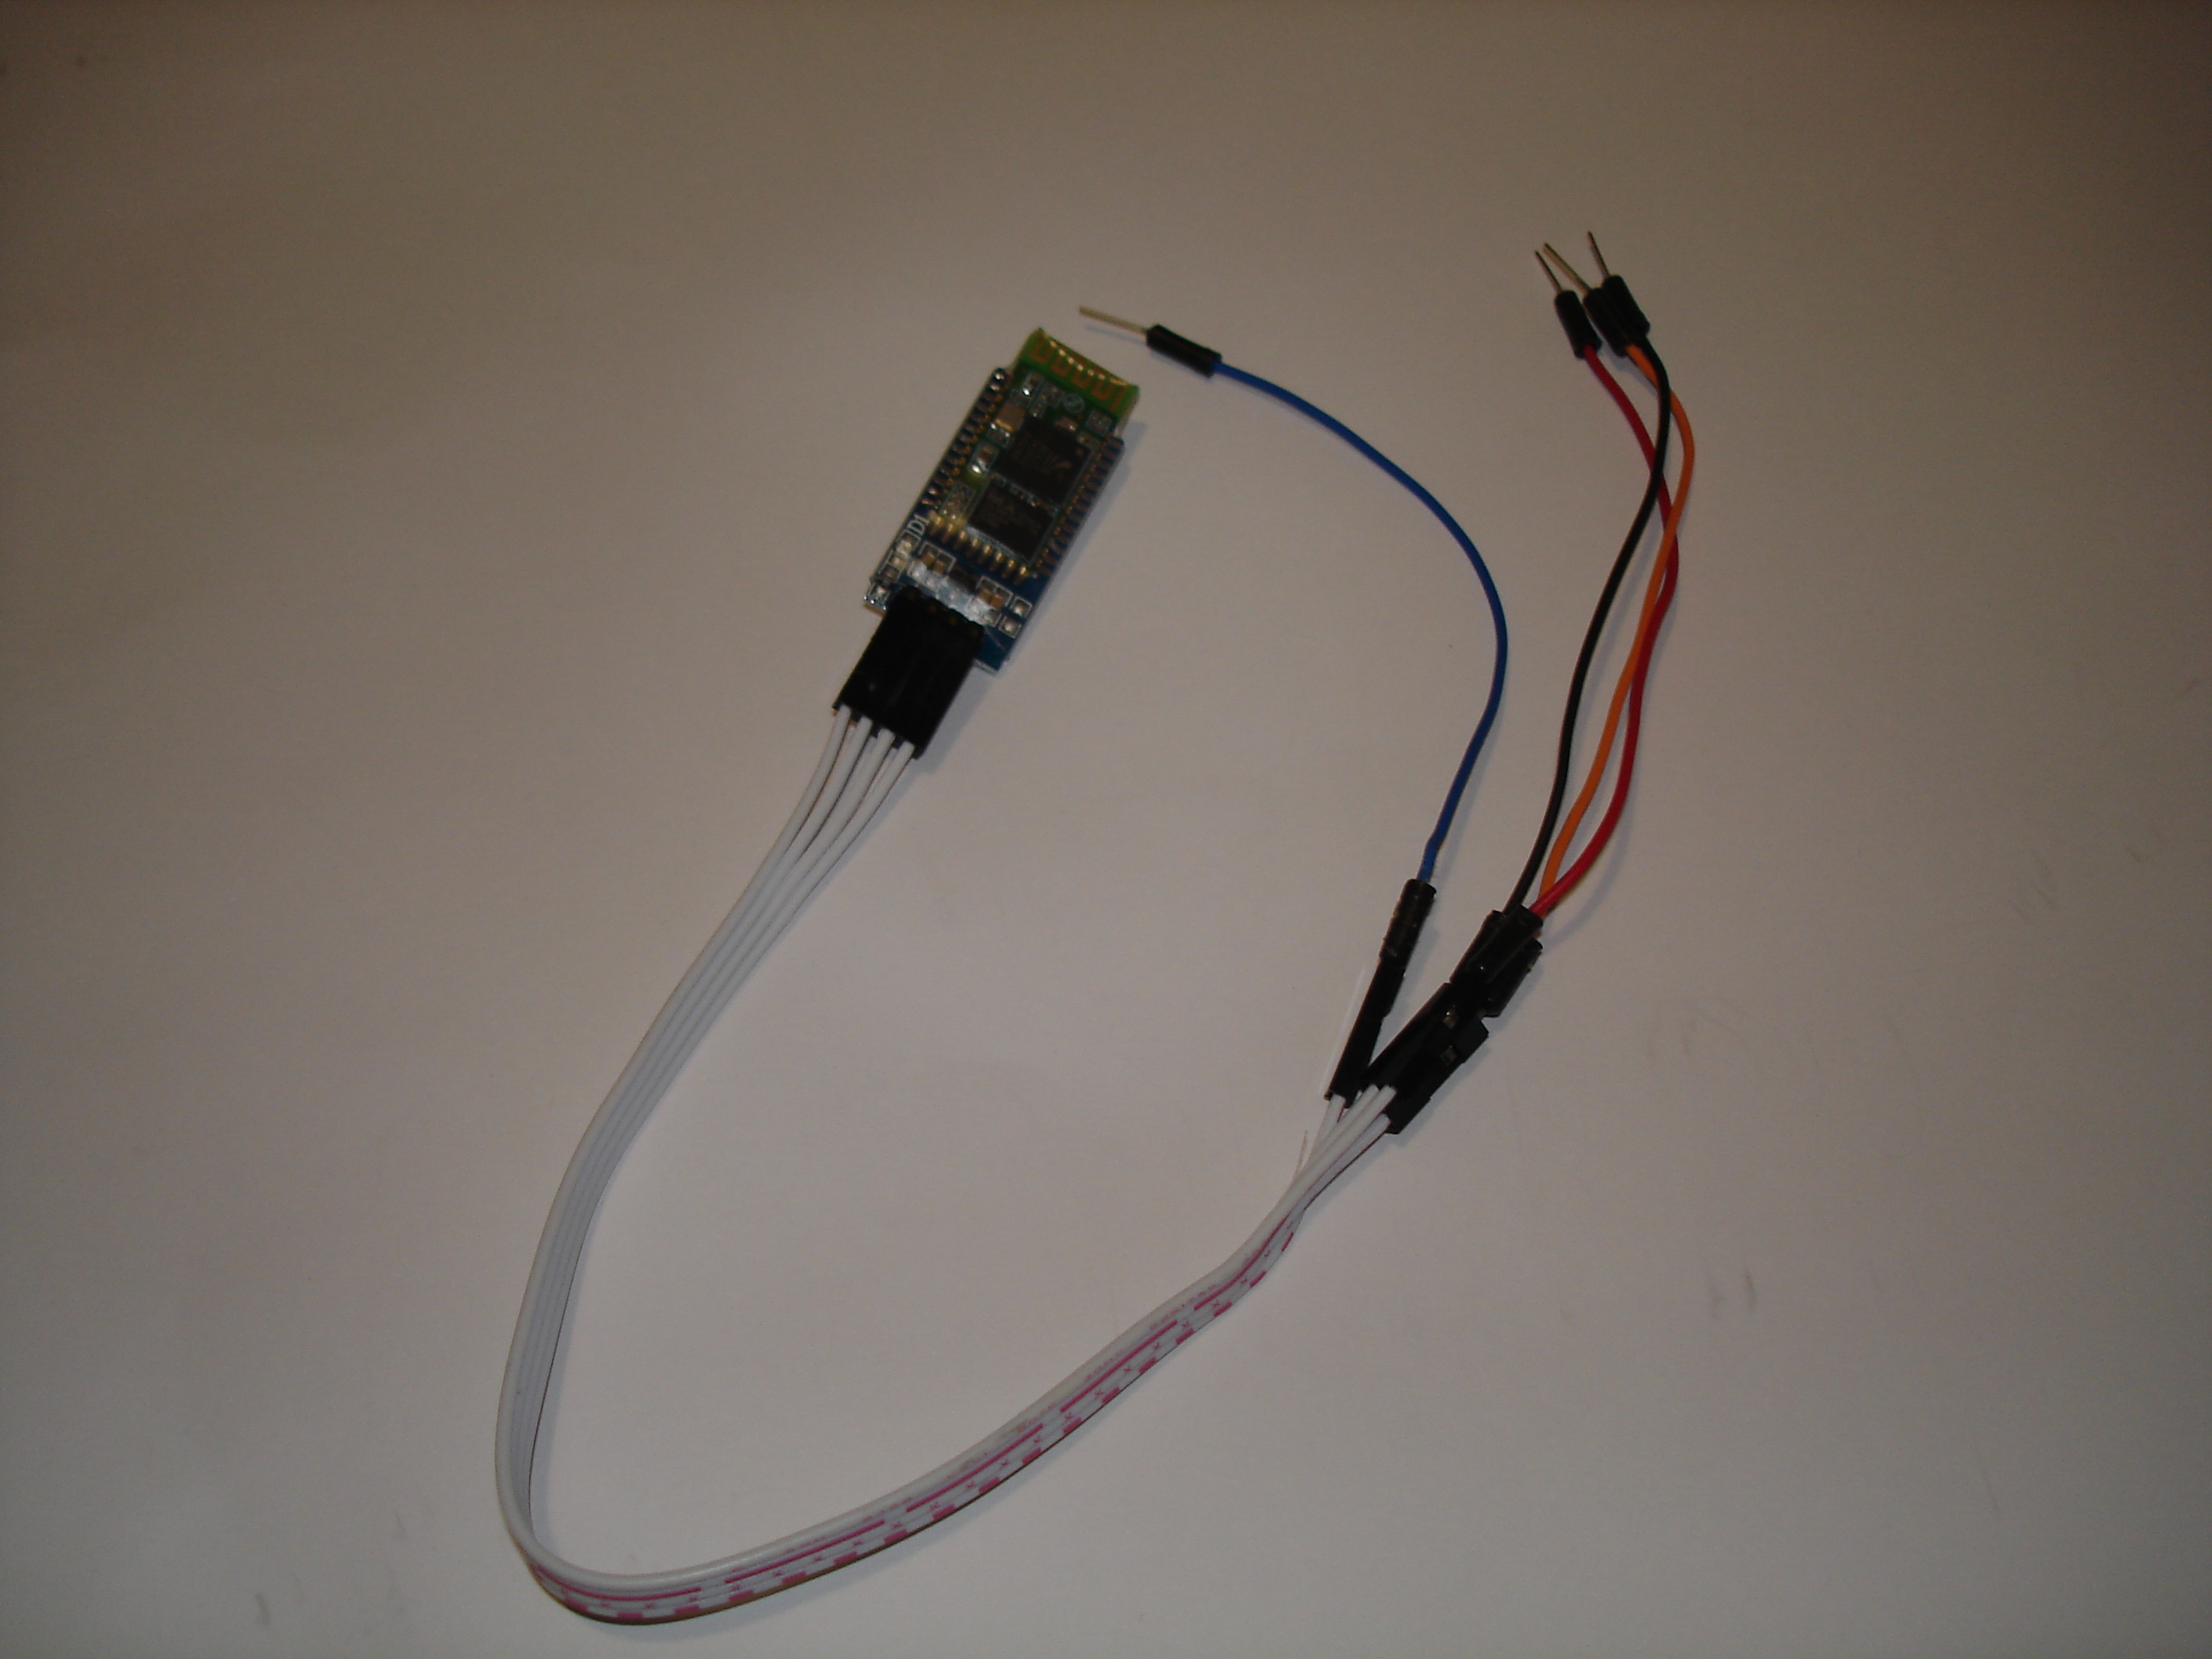
Fig 1: Bluetooth module
This HC-06 Bluetooth module is the most economical and easiest way to go wireless.
This module allows you to wirelessly extend your serial interface, Hence any program running on your Laptop feels its controlling a local serial port (which is over a wireless bluetooth link )
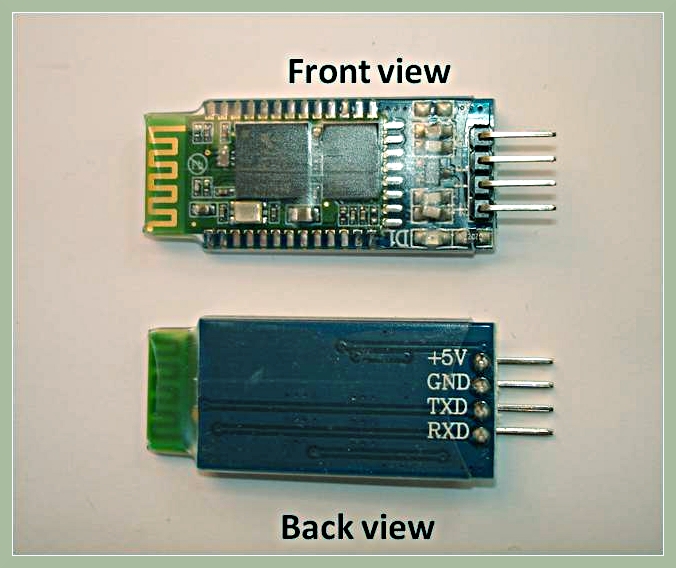
The 4 pins are +5V, GND, TXD, RXD. Supply voltage should be 3.3 - 6 V. Absolute maximum is 7 V.
Default pairing code: 1234
Default baudrate: 9600
HC-04 is almost identical to HC-06. The only difference is that HC-04 is for industry and HC-06 is for civil. Other than that, they are the same. Please refer this HC-04 Datasheet for more technical information.
The maximum baudrate can be configured to 1382400bps, but 115200bps is recommended for reliability purposes. The name and paring code can be re-configured by a USB to Serial converter, the steps for the configuration can be found here.
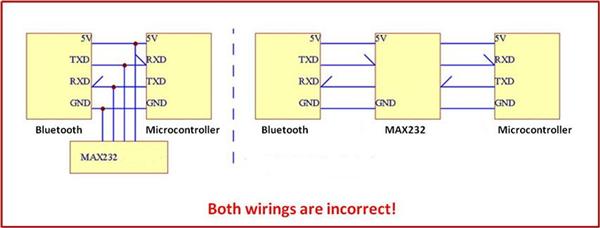
Below shows how the Bluetooth module is connected to the Arduino or other microcontroller device. The Bluetooth module also works in 3.3 V power supply

Fig 2: Bluetooth module wiring

Once the wires are connected, in the computer under the Bluetooth properties, select ‘Add a device’. The default device name of the Bluetooth module is ‘linvor’
Fig3: Detecting the Bluetooth module
Double click ‘linvor’ and select the ‘Hardware’ tab, you can see which COM port the module is connected. In this example, it is connected to COM 21.
Fig4: Finding the COM port associated with the bluetooth module
You may use any terminal programs, or the open source terminal program puTTY. Download it and double click on the putty.exe, select the ‘Serial’ radio button.
Fig 5: Connecting to the bluetooth module using Putty application
Then type in the COM port number that the Bluetooth device is connecting to. The default baud rate is 9600. Click ‘Open’. And here you go, a new session pops up and if the Bluetooth module’s LED changed from flashing to always on, then it indicates the connection is established.
Test the Bluetooth module : Loopback testing
First test of the bluetooth module is call the the loopback test
-
Wiring the Bluetooth to get power from the Arduino
To wire up the Bluetooth, power up the Arduino board (with usb or other power source), connect the +5 V and GND to the Arduino, then short circuit the rx and tx pin.
By doing this, you’ll receive exactly what you send.
-
Bluetooth test from PC
In the Bluetooth device properties of your computer, add the Bluetooth device by selecting ‘add a device’.
The default device name is linvor, and default pairing code is 1234, default baud rate 9600.
The device doesn’t need any driver. Please ignore the ‘unknown device warning’ in the windows device manager.
In the Bluetooth connection property, you can found which COM port the Bluetooth module is connected to.
Note: Until now the LED on the Bluetooth module is still flashing. Launch puTTY, type in the correct COM port and start the session. Soon after the session started, the flashing should stop and the LED on the Bluetooth module should stay on, which indicates that the connection has been established. In default setting, puTTY doesn't echo what you type, and whatever you type in puTTY gets sent to the Bluetooth module. So if you can see what you type in the terminal (non-repeated), it means the Bluetooth received the character you typed and sent it back to puTTY.
For advance users who want to customize the settings of the Bluetooth module, see Bluetooth module configurations. However, you are encouraged to skip this and continue to step3 to get your wireless rover working first!
Bluetooth module is not visible to Android phones and Android tablets?
It is reported that Android has some issues with the Bluetooth Serial Port Protocol (SPP). Installing TerminalBT app allows a pairing / connect to the Bluetooth module. This link explains it in a bit more detail.
Slow response in Arduino IDE when Bluetooth is enabled
When the Bluetooth of a laptop is enabled, the Arduino IDE becomes painfully slow and it is unusable. This is due to the auto-scanning COM port feature of the IDE. This link explains how to resolve this problem.
Image:

