Description:
Product Overview
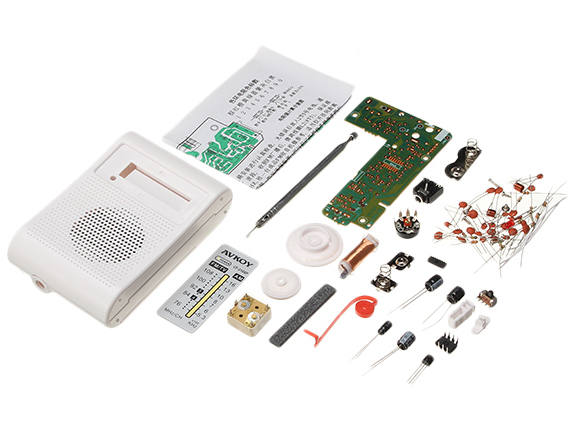
The CF210SP is an AM/FM two band radio kit, perfect for electronics enthusiasts.
With size just 65x100mm it’s a great pocket radio for hiking or fishing, providing good sound quality for such a small unit.
Specification:
The FM band receives frequency range of 76 – 108 MHz
The AM band receives frequency range of 525 – 1605 KHz
Kit requires 2x AA batteries
NOTE: Recommended for a hobbyist with moderate soldering skills, and electronic components knowledge.

On both sides (very descriptive) and solder mask on the rear side.
Things You Need:
About two hours of time to complete the kit.
Soldering iron with a fine tip (SMD chip)
Solder wire
Side cutters to cut off component legs
Hot melt glue, to stick the speaker, ferrite rod antennas into place.
Small Philips head screwdriver
Small flat-blade screwdriver to perform the variable-cap tuning
Two AA batteries
Video on Assembling the kit
Tips and tricks:
The old schools teach us to start with the passive components, smaller first, then bigger, and the IC’s on the end of any electronics assembly. In this case, start first with the SMD chip IC1 - it’s easier to have the PCB laying flat on the surface
Take care with the orientation of the variable capacitor. The thin tab faces the edge of the PCB, and the “fat” tab sits inside the slot cut in the PCB
Scrap enamel from the ends of the two coils (7T5 and 8T5). Will help when you start soldering them in place
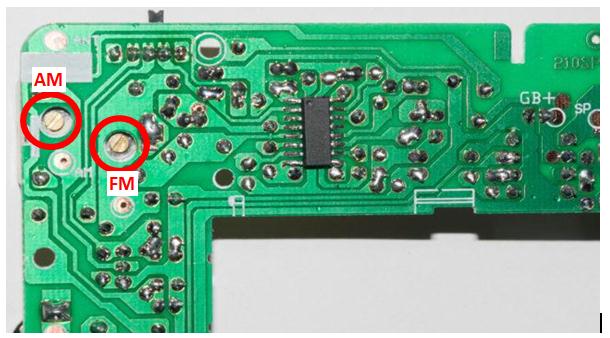
Final Tuning: start alignment with the FM band, adjust L2 coil (8T5) according to known radio station, and debug. Stretch the coil for high frequency, shrink (squeeze) the coil for low frequency. Adjust several times to ensure you cover 76-108MHz, and in parallel use flat blade screwdriver and adjust right brass screw on the rear of the variable capacitor (the lower one)

- For AM band tuning: adjust the left brass screw (the higher one). If you don’t hear anything on the AM band, it’s a good indication the connections to the coil, or the IC may not be soldered correctly. Try re-soldering as the enamel on the wire can be tough to break through especially if you’ve cut (trimmed) the wire
- You might find the case is hard to close and doesn’t make up at the seams, especially near the headphone jack. Reaming out the hole slightly using a large Philips head screwdriver seems to do the trick.
Image:

Catalog:
